
Tile Set Correctly From Substrate to Surface
Tile installation in Concord for entryways, kitchen areas, living spaces, and patios where surface conditions support the work
Tile fails most often not because of the tile itself but because of what was done—or skipped—underneath it. Hollow spots, lippage between adjacent tiles, and grout that cracks within months of installation are all symptoms of substrate problems or installation shortcuts, not material defects. Woodsmann Restoration LLC approaches tile installation in Concord by starting with what the surface actually is before deciding how to proceed, because a concrete slab, a wood subfloor, and a mortar bed each require a different preparation sequence before any tile goes down.
Interior applications—entryways, kitchen areas, and selected living spaces—and exterior applications such as patios require different product families entirely. Interior tile is typically rated for water resistance adequate for household use but is not formulated for freeze exposure or UV degradation. Exterior tile must carry a freeze rating if there is any risk of temperature drop, and the mortar and grout selected for an outdoor patio need to be rated for exterior use as well, not repurposed from an interior installation. Layout planning on both surfaces starts with establishing working lines that keep the pattern balanced relative to the most visible sightlines in the space, which for an entryway typically means the line of sight from the front door inward.
Arrange a site visit with Woodsmann Restoration LLC to evaluate your surface conditions and discuss the tile requirements for your specific space.
How Tile Installation Addresses Surface and Substrate Conditions
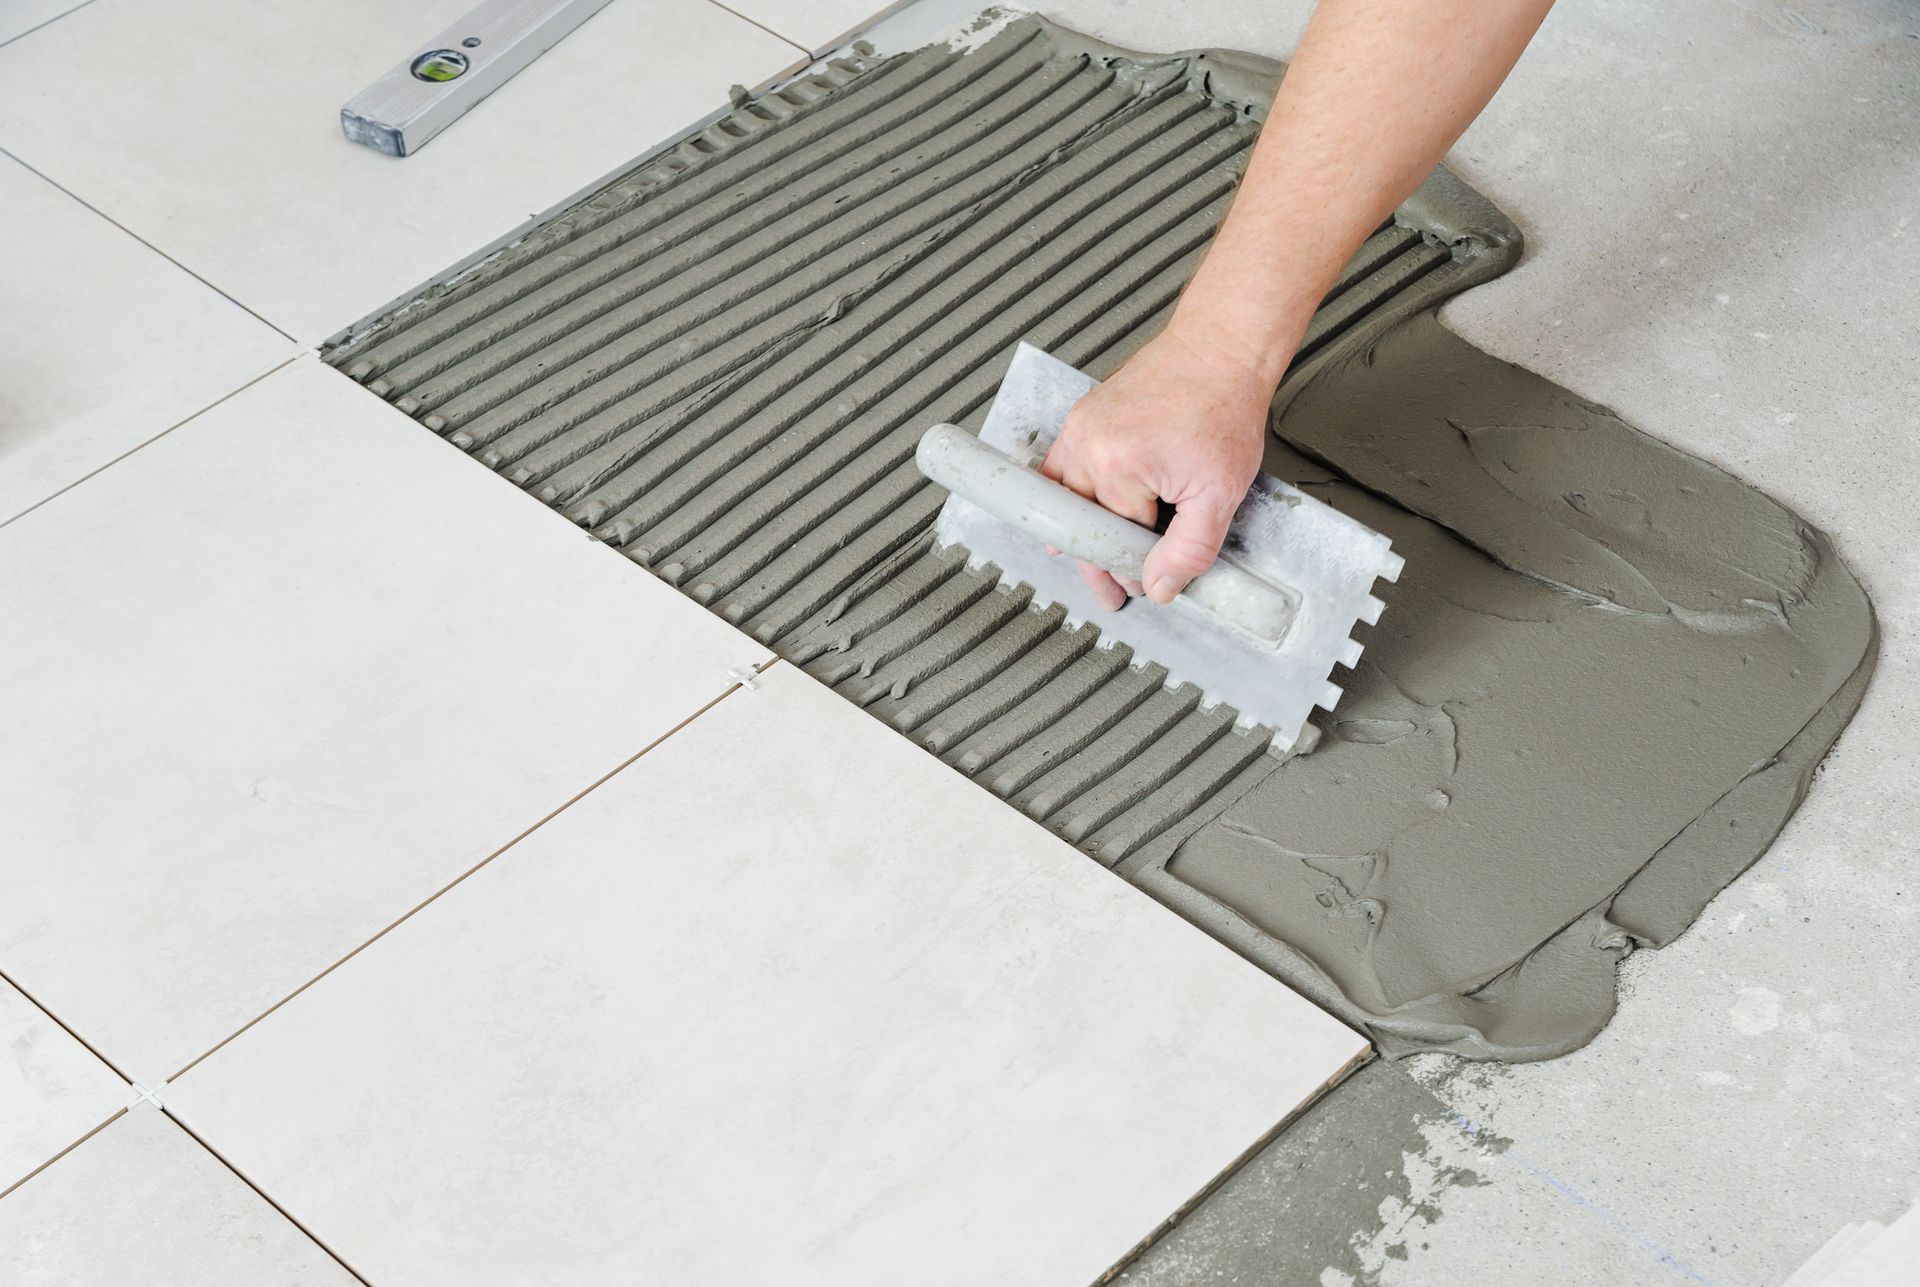
Before layout lines are snapped, the substrate has to be checked for flatness and flexibility. Wood subfloors in residential construction are inherently deflection-prone, and tile set directly over plywood without a decoupling membrane or cement backer board will crack at the grout joints as the floor moves with foot traffic and load. In Concord's stock of post-war ranch homes and mid-century construction, subfloors are often one layer of original plywood, which means a backer board installation adds height that has to be planned around transitions to adjacent flooring. Thinset coverage behind the tile must reach a minimum of 80 percent for interior applications and 95 percent for wet areas, which is verified by pulling a tile immediately after setting it and reading the back for transfer.
Once the field is set and the thinset has cured to the manufacturer's specification, grout is worked into the joints and struck before it hardens on the tile face. The finished surface shows consistent joint width, flush tile faces with no lippage greater than a thirty-second of an inch on standard sizes, and clean grout lines without voids. Those are the indicators that tell you the installation was done with correct technique rather than speed.
Material selection and layout pattern interact in ways that are easier to work through before the tile is purchased. Large-format tiles can make a compact entryway read as more open, but they also require a flatter substrate and longer setting times. Smaller mosaic formats are more forgiving on irregular surfaces but create more grout joint linear footage to maintain. Woodsmann Restoration LLC discusses these trade-offs so the material selected suits both the aesthetic goal and the condition of the surface it's going onto.
What Property Owners Ask About the Work
The following questions address how tile installation decisions are made in practice, including what affects the sequence of work and what finished results look like.
What has to happen before tile can be set on a wood subfloor?
The subfloor needs to be checked for deflection, fastened down firmly to eliminate any bounce, and covered with either a cement backer board or a decoupling membrane before thinset and tile are applied.
How does tile size affect the layout planning process?
Larger tiles require working lines to be set more precisely because even a small deviation compounds across fewer joints, while smaller tiles offer more tolerance but require more cuts at perimeters and obstacles.
Why are interior and exterior tile products treated as separate categories?
Exterior-rated tile is manufactured to withstand temperature fluctuation and moisture infiltration at a level interior tile is not designed to handle, and using interior materials outside will result in premature failure at the grout joints and tile face.
How are transitions handled where tile meets a different flooring material?
Transition strips are selected based on the height difference between the two surfaces and the traffic level at that threshold; a flush schluter-style profile is appropriate where the height difference is minimal, while a reducer is used where one surface sits measurably higher than the other.
What does a finished tile installation look like when the work is done correctly?
Grout joints are consistent in width across the field, tile faces sit flush without raised edges at adjacent tiles, and cut pieces at walls and obstacles are sized and placed symmetrically so the perimeter doesn't read as trimmed down from a random point in the field.
Woodsmann Restoration LLC also performs tile installation in Harrisburg, Kannapolis, and Cabarrus County communities within the service area. To get started, contact Woodsmann Restoration LLC directly to describe your surface, the area you're working with, and the tile type you're considering—that information shapes every decision that follows.